
Solvent welding plastic pipe in cold weather — often casually called “gluing PVC pipe” — presents challenges that must be counterbalanced. Why? Pipe and fittings take longer to soften in colder weather. Cold pipe is also more resistant to solvent attack, so softening it with primer is especially important during cold weather.
By following a few key adjustments and showing some extra patience, you can successfully solvent weld pipe joints in sub-zero temperatures (as low as -15°F) when using the right cement.
For a complete, step-by-step overview of solvent welding across PVC, CPVC, and ABS, start with our Complete Guide to Solvent Cementing before applying the cold-weather tips below.
How cold affects solvent welding
Temperature changes the way solvent cement behaves. As it gets colder, solvents evaporate more slowly, which extends cure times. Cold weather can be more problematic than heat, and once temperatures drop near 0°F, the pipe itself becomes increasingly brittle, which is a major reason to exercise caution.
Also, remember that humidity matters. Technical guidance often adds about 50% when humidity is extremely high. In very humid climates, cure times should be extended to ensure optimal results.
All of that means winter solvent welding isn’t harder because the rules change — it’s harder because cold slows the process and can push materials toward failure if you rush.
We’re sharing eight practical tips in this article to help pros and DIYers create durable, leak-free solvent-cemented joints through the winter months.
1. Prefabricate as much as possible in a warm environment
Whenever possible, assemble as much of the piping system as you can in a heated work area. If you can control the temperature, you’ll get better, more reliable joints.
Any joints that must be made on the jobsite should be protected by a temporary or portable shelter to limit exposure to freezing air and wind.
2. Choose the best cement for cold weather
Cold weather can slow curing and lead to weaker joints if you use a cement that isn’t rated for low temperatures.
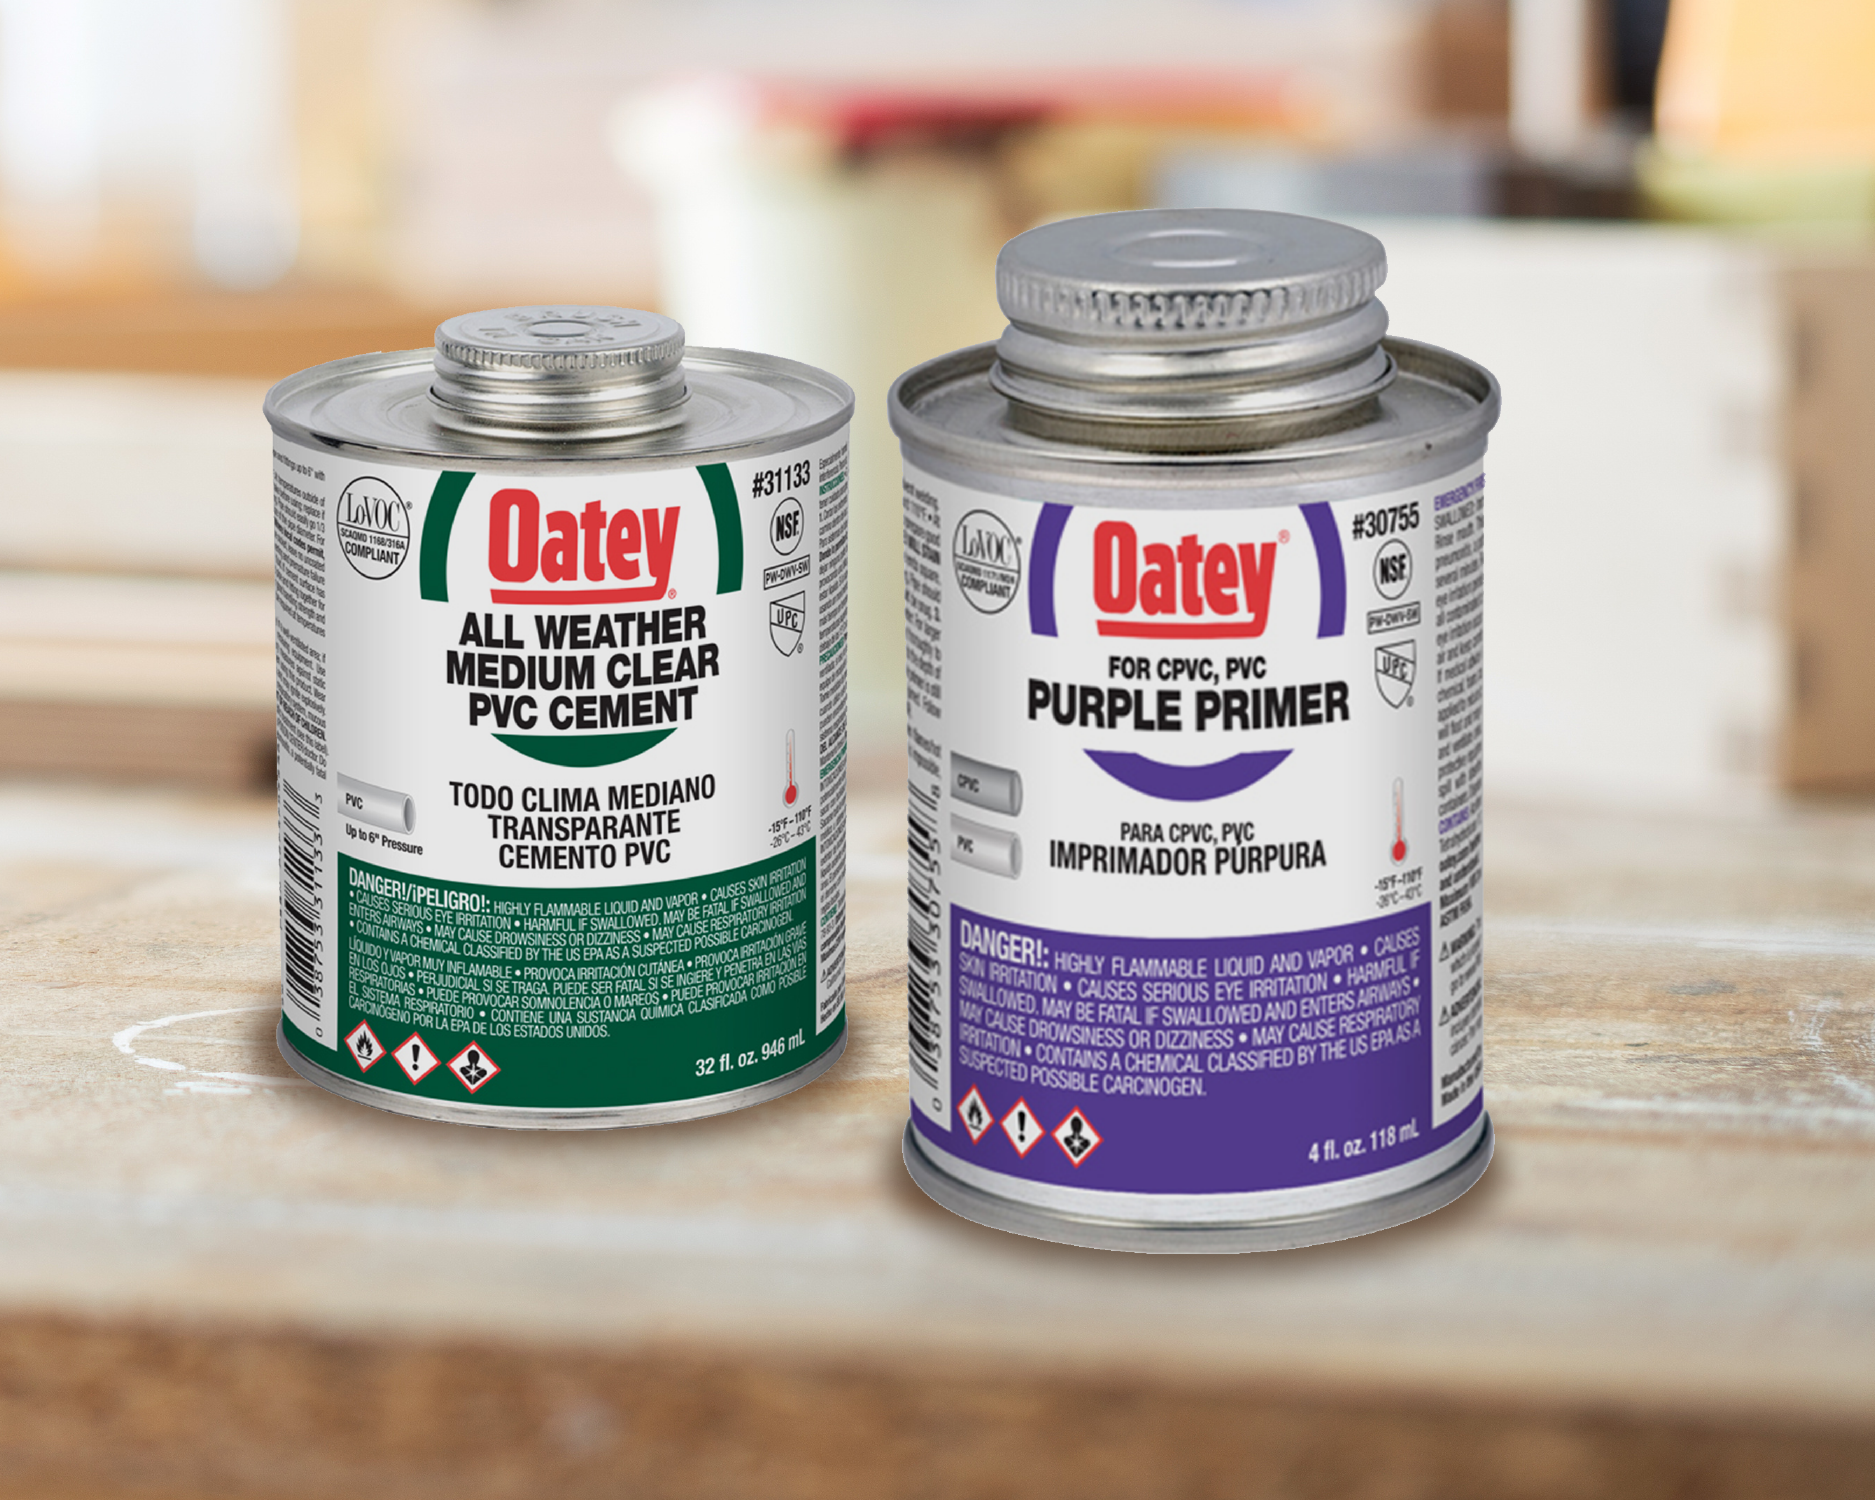
- Oatey® All Weather Medium PVC Cement is formulated for a wide temperature range, from -15°F up to 110°F. Its medium-bodied consistency is designed to apply smoothly and build strong bonds in challenging weather.
- For CPVC systems, Oatey® FlowGuard Gold® 1-Step Yellow Cement is rated for cold-weather use down to 0°F and doesn’t require primer (for FlowGuard Gold CPVC pipe and fittings).
Even with low-temp cements, Oatey recommends avoiding solvent welding below 0°F unless you’re using a specialty product rated for it, because brittleness in pipe increases and cure times rise sharply.
To choose the right cement for your particular job, read: How to Choose the Right Solvent Cement for the Job.
3. Store cements, primers, and pipe in a warmer area
Cold makes cement thicken. If it sits in freezing conditions, it can take on a gel-like consistency that won’t weld properly.
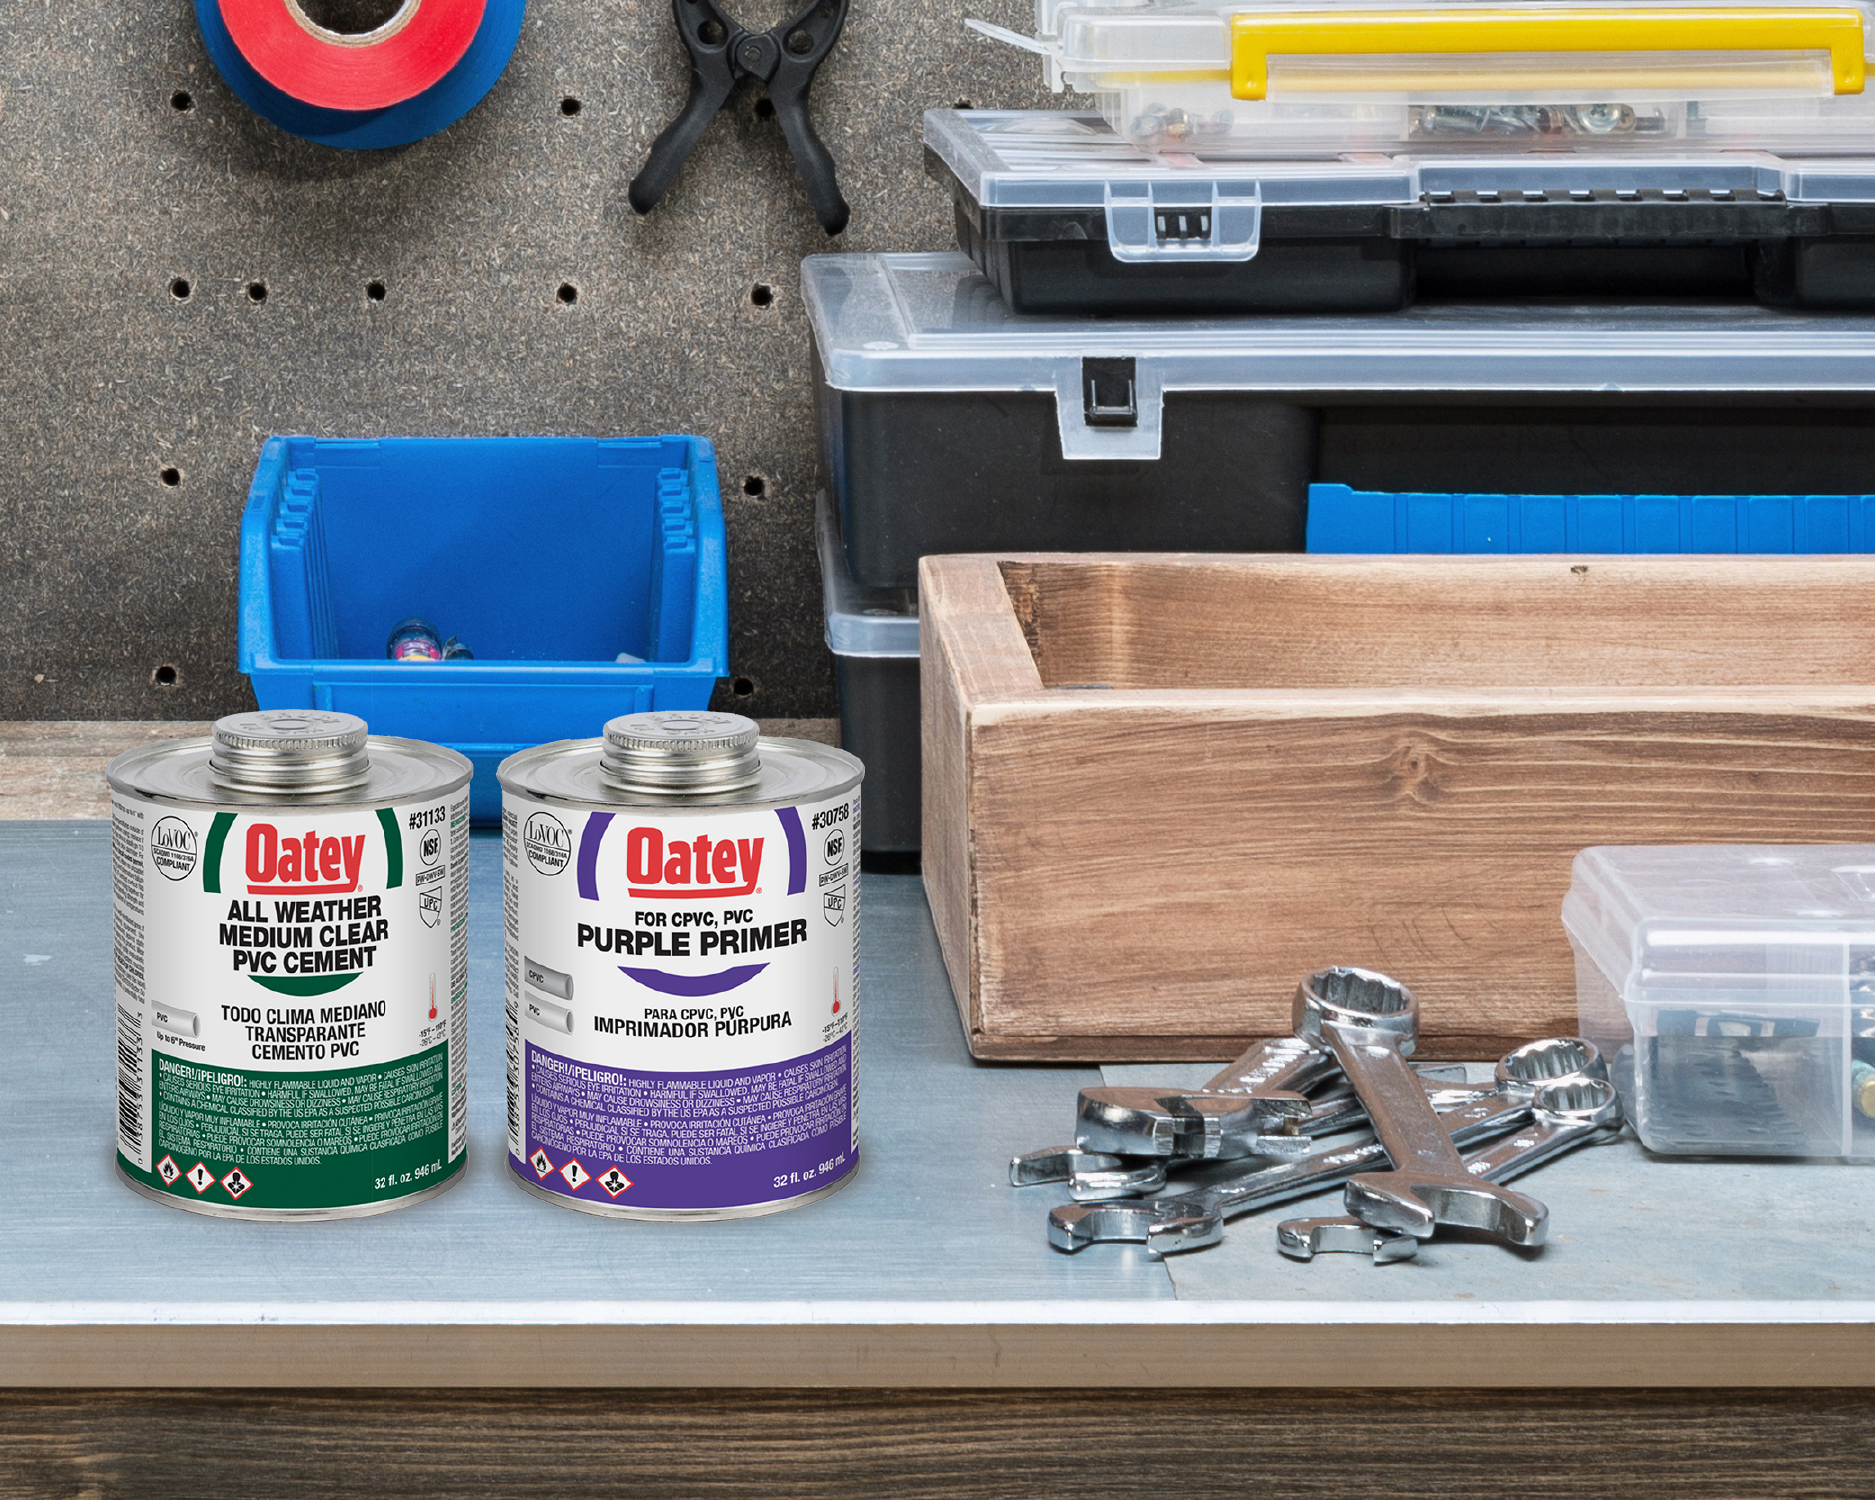
Before use, keep the cement and primer at least above the low-temperature rating on the can (often 40°F) — and ideally around 50°F or warmer, so they flow and penetrate correctly.
A winter best practice: Don’t leave cements or primers in a truck or van overnight. Bring them indoors between calls so they can re-acclimate to a workable temperature.
If a can has frozen and thawed repeatedly, don’t keep pushing it. After a few freeze-thaw cycles, it’s safer to replace it with fresh product.
4. Remove moisture from pipe ends and surfaces
Before priming or cementing, dry and clean pipe ends and fitting sockets. Dampness, residual water, ice, oils, or dirt can block the cement from working into the pipe and create voids in the weld.
If moisture is unavoidable, use a fast-set cement formulated to cure in wet conditions, such as Oatey® Rain-R-Shine® Medium Blue PVC Cement. (Note: It’s intended for damp environments rather than extreme-cold.)
5. Vigorously shake or stir cement before use
Before every application, shake the can or stir the contents to blend the components back into a consistent, usable mix.
While you’re doing that, inspect the cement: It should be fluid and uniform in color. If it looks separated, unusually thick, or jelly-like, that’s a red flag that it may be too old or compromised by temperature exposure.
If you’re unsure whether a product is still usable, check out What Is the Shelf Life of Solvent Cement, Primer, and Cleaner?
6. Aggressively apply primer to fittings and pipe
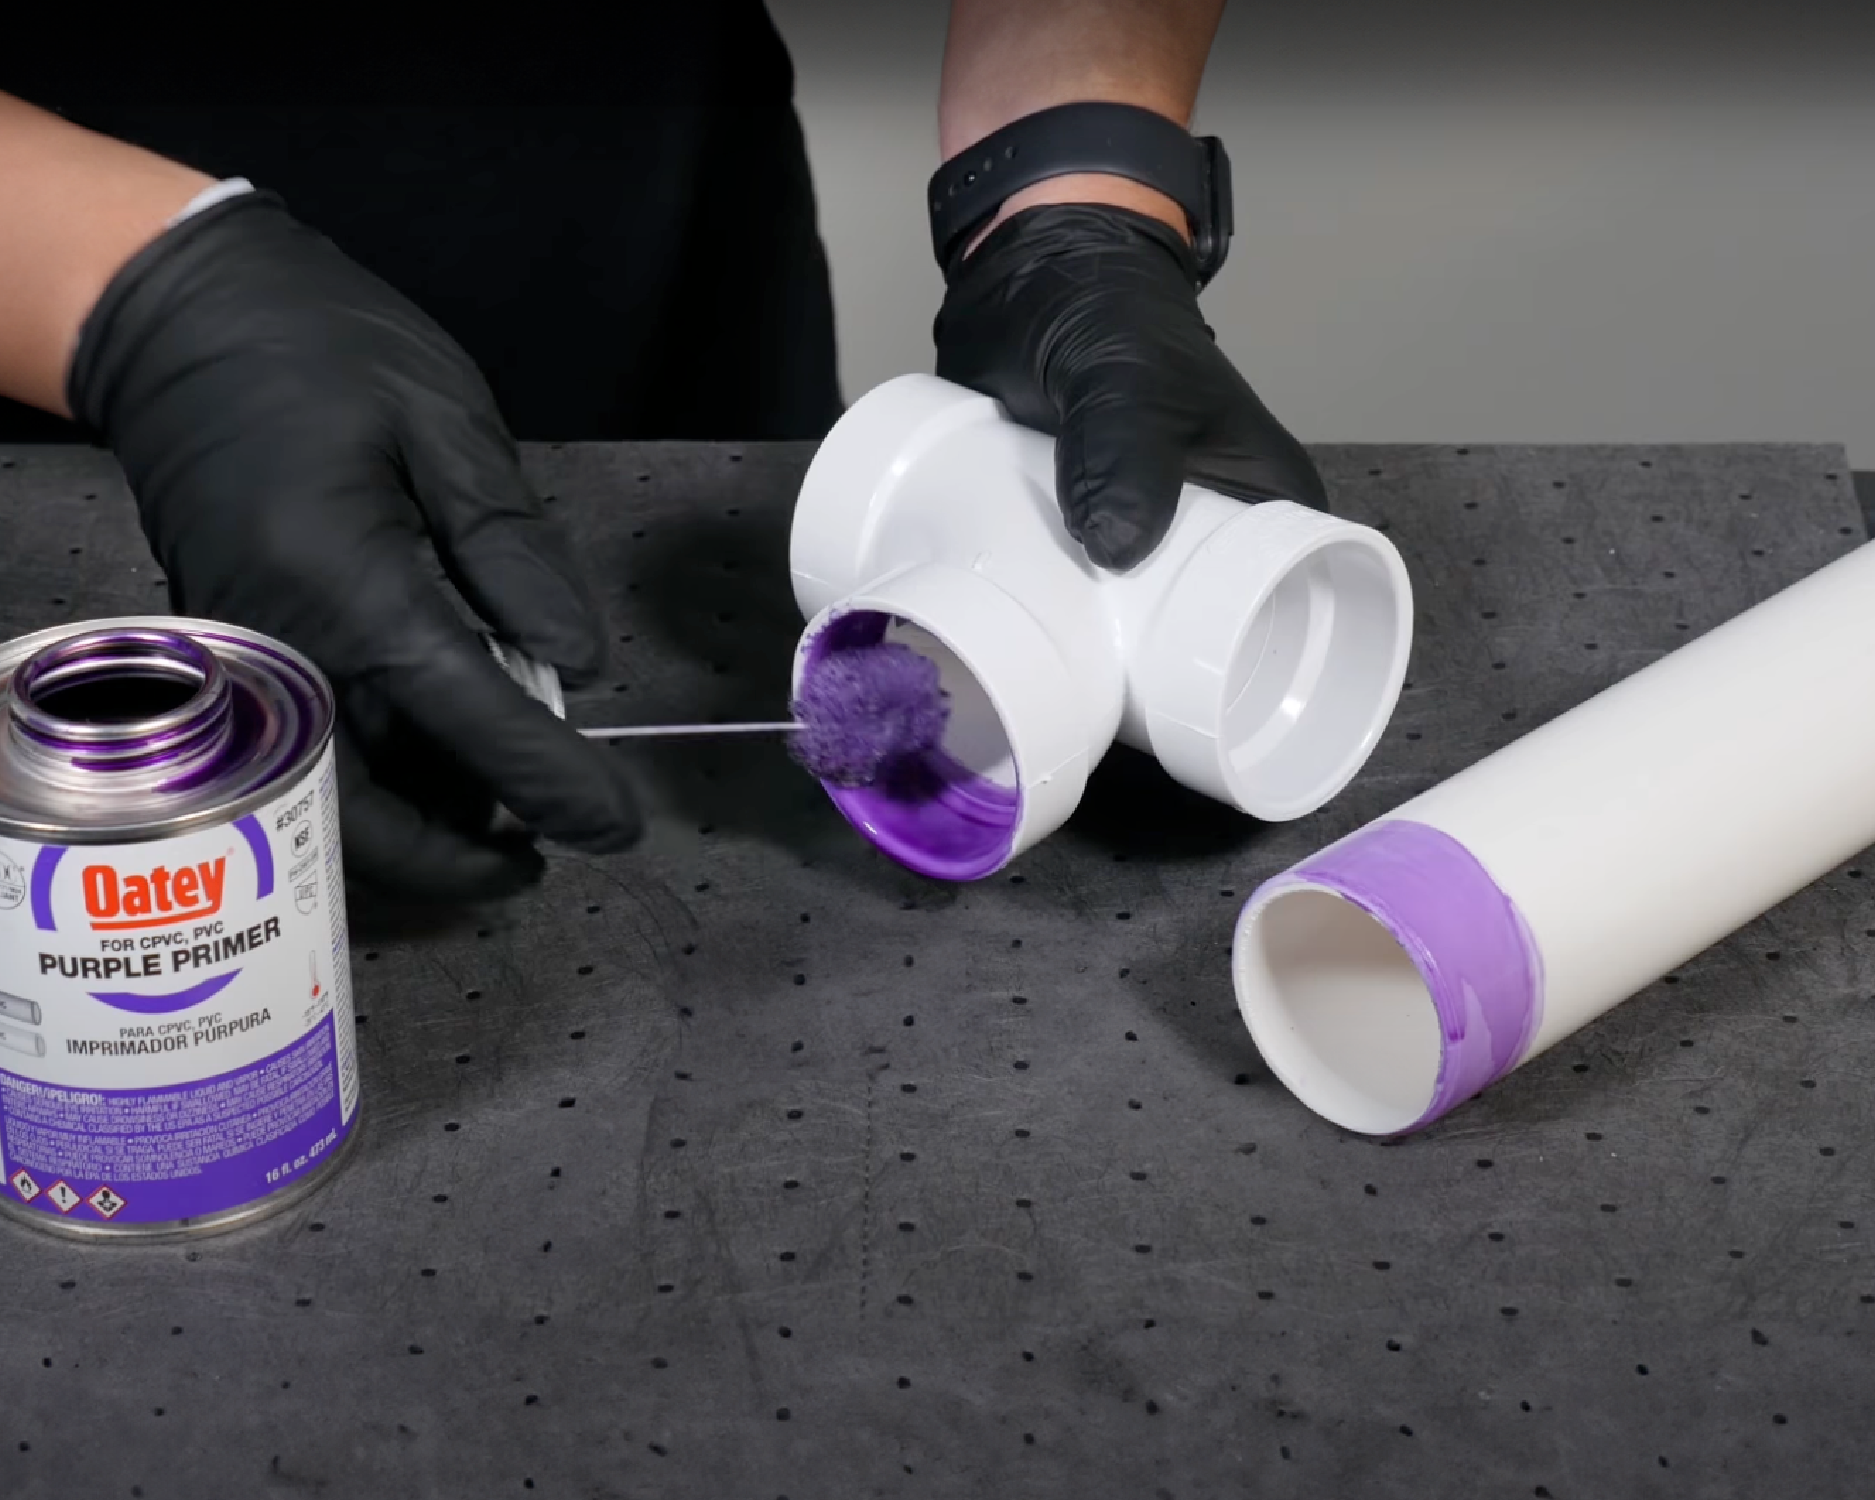
In cold weather, primer application becomes even more critical because cold pipe resists solvent attack. Opt for the Oatey® Industrial Grade Purple Primer, which is more aggressive than standard primers. It’s ideal for large-diameter pipe and provides added chemical bite in cold conditions.
Work primer into both the fitting and pipe to soften the surfaces and open them up for fusion.
Think of primer like prepping skin: A more aggressive application helps “open the pores” of the plastic so that the cement can do its job.
Re-dip the applicator between coats to keep the primer fully active. Then apply cement and assemble the joint within five minutes so the primer doesn’t evaporate before fusion begins.
To learn more about primer, read: Oatey 101: Solvent Cements and Primers.
7. Allow longer cure time before testing or using the system
Cure time depends on pipe material and size, ambient temperature, and humidity. Colder temperatures slow evaporation, so give joints extra time before pressurizing.
- At temperatures ranging from 20°F to 40°F, a joint may take up to three days to fully cure, especially for higher-pressure applications.
- Below 20°F, cure time becomes highly variable; contact Oatey Technical Services for exact guidance.
Don’t try to “cheat” cure time by applying direct heat to the joint — it can deteriorate joint strength or compromise pipe integrity.
If you need to help the process along, create a temperature-controlled area instead (such as a temporary heat source or sheltered workspace), while still allowing airflow into open pipe ends so that solvents can evaporate normally.
Cold also increases set (or handling) time — the period immediately after assembly when the joint is still soft and can be disturbed. As temperatures drop, handling times can stretch from minutes to hours, depending on the pipe size, so avoid moving, stressing, or backfilling the line until the joint has fully set.
Follow Oatey’s Cement Curing Time Charts:
Use the charts below as a cold-weather reference, and always follow label instructions and technical guidance for your specific application.
PVC & ABS — Set Time / Handling Time by Temperature
| Pipe diameter | 60–100°F (16–38°C) | 40–60°F (4–16°C) | 20–40°F (-7–4°C) | 0–20°F (-18–-7°C) |
|---|---|---|---|---|
| 1/2" to 1-1/4" (13–32 mm) | 2 min | 5 min | 8 min | 10 min |
| 1-1/2" to 3" (40–80 mm) | 5 min | 10 min | 12 min | 15 min |
| 4" to 5" (100–125 mm) | 15 min | 30 min | 60 min | 2 hrs |
| 6" to 8" (150–200 mm) | 30 min | 90 min | 3 hrs | 6 hrs |
PVC & ABS — Cure Time by Temperature and Pressure
Note: For 0°F – 20°F (-18°C – 7°C), contact Oatey Technical Services for cure-time guidance.
| Pipe diameter | Pressure | 60–100°F (16–38°C) | 40–60°F (4–16°C) | 20–40°F (-7–4°C) |
|---|---|---|---|---|
| 1/2" to 1-1/4" (13–32 mm) | Up to 180 psi | 15 min | 20 min | 30 min |
| 180 psi+ | 4 hrs | 8 hrs | 36 hrs | |
| 1-1/2" to 3" (40–80 mm) | Up to 180 psi | 30 min | 45 min | 60 min |
| 180 psi+ | 8 hrs | 16 hrs | 72 hrs | |
| 4" to 5" (100–125 mm) | Up to 180 psi | 2 hrs | 4 hrs | 36 hrs |
| 180 psi+ | 12 hrs | 24 hrs | 4 days | |
| 6" to 8" (150–200 mm) | Up to 180 psi | 8 hrs | 16 hrs | 3 days |
| 180 psi+ | 24 hrs | 48 hrs | 9 days |
CPVC — Cure Time by Temperature and Pressure
Note: For temperatures below 40°F (20°F – 40°F and 0 – 20°F columns), contact Oatey Technical Services for cure-time guidance.
| Pipe diameter | Pressure | 60–100°F (16–38°C) | 40–60°F (4–16°C) |
|---|---|---|---|
| 1/2" to 1-1/4" (13–32 mm) | Up to 180 psi | 1 hr | 2 hrs |
| 180 psi+ | 6 hrs | 12 hrs | |
| 1-1/2" to 3" (40–80 mm) | Up to 180 psi | 2 hrs | 4 hrs |
| 180 psi+ | 12 hrs | 24 hrs | |
| 4" to 5" (100–125 mm) | Up to 180 psi | 6 hrs | 12 hrs |
| 180 psi+ | 18 hrs | 36 hrs | |
| 6" to 8" (150–200 mm) | Up to 180 psi | 8 hrs | 16 hrs |
| 180 psi+ | 24 hrs | 48 hrs |
8. Follow all ASTM standards and steps
Winter is not the time to skip steps. Follow all ASTM-recommended solvent-welding procedures, including proper pipe preparation, such as chamfering or beveling.
If you don’t chamfer the pipe, sharp edges can scrape cement off the fitting walls during insertion, creating leak paths. Cold makes that risk even more pronounced.
For a quick refresher on what to avoid, review these five common solvent welding mistakes.
Wrap-Up
Cold-weather solvent welding is totally doable — as long as you prep carefully, use products rated for the conditions, and give joints the time they need to cure. The cold slows the chemical process and can make pipe brittle, so patience is part of the job.
With these winter application tips, you can keep producing long-lasting, leak-free joints all season long.
For the full solvent welding process across PVC, CPVC, and ABS, see our Complete Guide to Solvent Cementing.
Published on May 22, 2026
Frequently Asked Questions
-
Can you use PVC cement in cold weather?
-
Yes. You can solvent weld in cold weather, but you should use a cold-weather-formulated cement (such as Oatey® All Weather Medium PVC Cement, rated to -15°F) and allow extended set and cure times.
-
-
How cold is too cold to solvent weld?
-
Avoid solvent welding below 0°F unless you’re using a specialty cement designed for sub-freezing conditions. Even if a product is rated lower, cure times increase dramatically, and pipe becomes more brittle as you approach and go below zero.
-
-
How long does solvent cement take to cure in cold temperatures?
-
Cold temperatures slow evaporation and extend cure time. At around 40°F, plan on roughly double normal cure time — up to about 48 hours for small-diameter pipe.
-
-
Can I warm solvent cement to make it easier to use?
-
Yes — warm it indoors to room temperature with the lid sealed. Don’t use open flames or direct heat sources on cement containers.
-
-
What happens if a joint freezes before curing?
-
If a joint freezes before it fully cures, proper fusion may not occur, and the joint can fail or leak. Keep newly made joints above freezing until they are fully cured.
-
-
Which Oatey products are best for cold weather?
-
For PVC, use Oatey® All Weather Medium PVC Cement, formulated for cold weather and rated down to -15°F. For CPVC hot-water systems, Oatey® FlowGuard Gold® 1-Step Yellow Cement is rated down to 0°F.
-