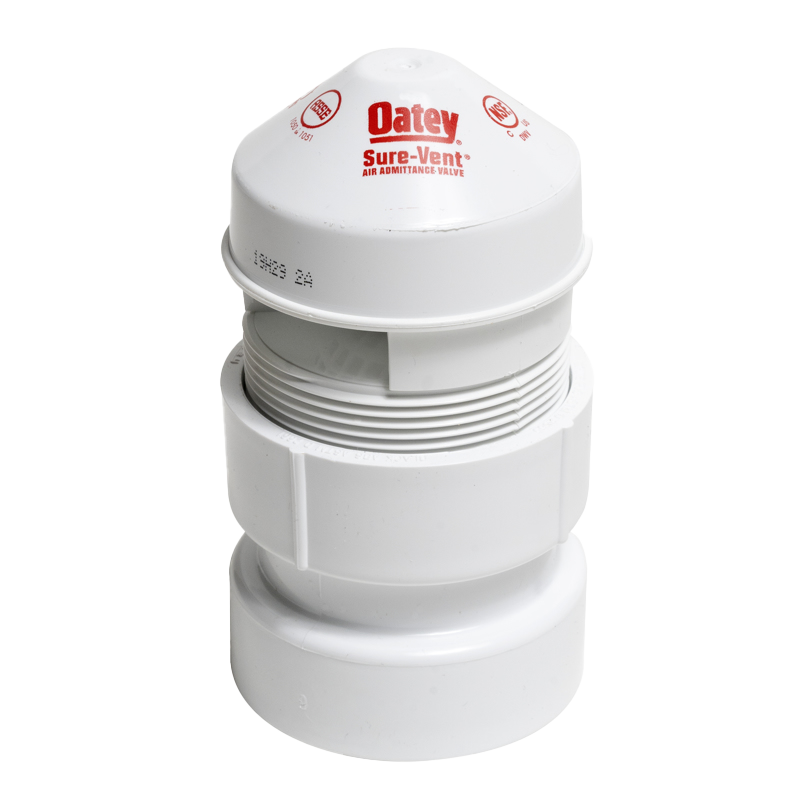
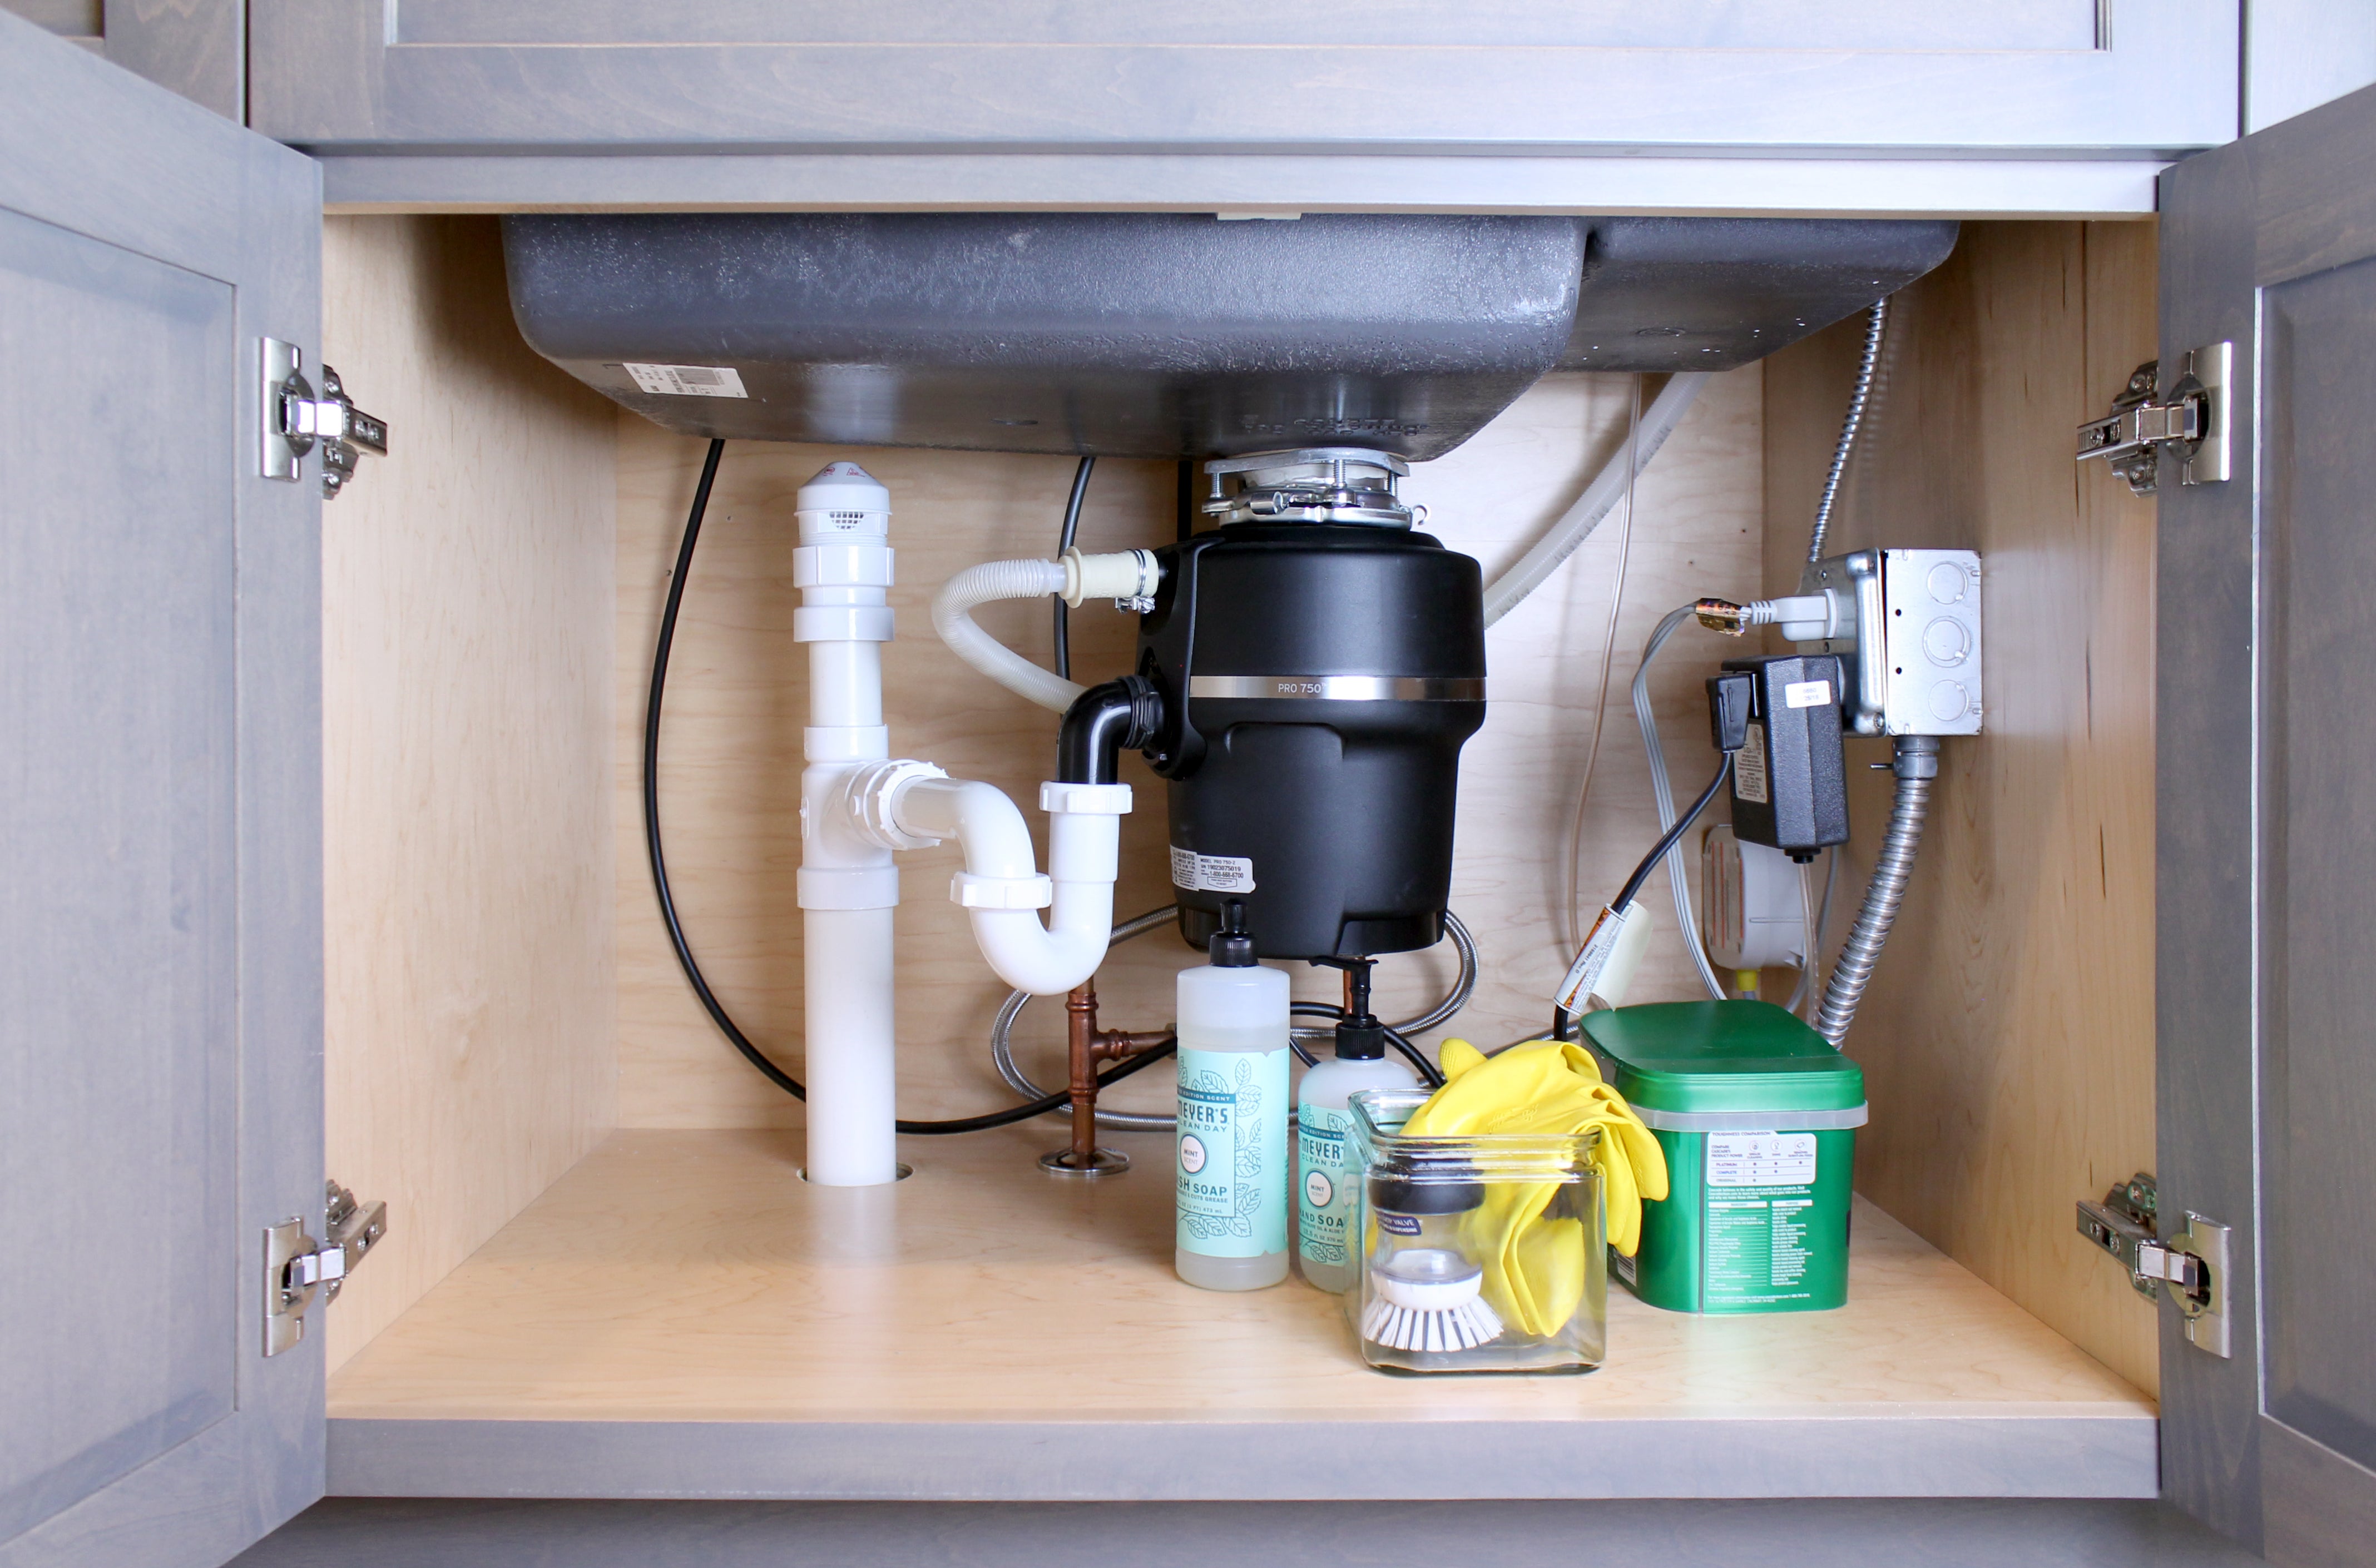
An Air Admittance Valve (AAV), which you may also hear referred to as a Studor Vent, Studor AAV or Mini Vent, is a one-way mechanical valve that is installed locally at the site of a plumbing fixture, allowing proper venting to occur without a connection to a larger venting system and stack vent. There are several different AAVs on the market today that all slightly vary in design; however, they each perform the same function.
AAVs present various benefits for homeowners, particularly when they can’t connect to an existing venting system or are looking to reduce roof penetrations for aesthetic purposes. When installed correctly, they’re a great way to save time, money and frustration. Consider the following experts tips during your AAV selection and installation process.

Key Considerations
Local Code and Manufacturer Requirements
Before heading to your local hardware store, be sure to check with local municipality codes and manufacturer requirements to determine if an AAV is approved for your particular application. If the use of an AAV is not permitted, the fixture or drainage system will have to be vented traditionally through the home’s existing venting system.
Sizing
You can determine which size AAV you’ll need based on the Drainage Fixture Unit (DFU) load of the fixture(s), such as an island sink or bathroom group, it will vent. An AAV’s ability to breathe is measured in DFUs. The higher the DFU rating on the valve, the greater amount of air that can enter the Drain-Waste-Vent (DWV) system.
DFU loads are assigned to plumbing fixtures dependent on the volume rate of discharge, the duration of operation and the time between operations. Common fixture load ratings are shown in the table below.
To ensure proper breathing capability, determine all fixtures to be vented and calculate the total DFU load, then select the appropriate AAV for the application. Proper AAV sizing is critical because under-sizing will not allow the plumbing system to operate properly.
AAVs are typically available with 1 ½”, 2”, 3” and 4” adapter connections. The adapter size is based on the diameter of the vent pipe it is being installed on. Generally, a vent should be sized to be half the pipe diameter of the drain it is serving (refer to local codes for specific vent size recommendations).

Pipe material
Additionally, you should verify what type of pipe material you will be connecting the AAV adapter to ensure compatibility. In other words, AAVs with PVC adapters should only be paired with PVC pipe, and AAVs with ABS adapters with ABS pipe.
AAV location
An AAV should be located within the maximum developed length permitted for the vent. It must be located a minimum of 4” above the horizontal branch drain, 6” above any insulation material and within 15 degrees of vertical. AAVs cannot be permanently covered and should be installed in an area that allows air to enter the valve. They must also be accessible, should the need for replacement occur in the future.


Recommended Installation Steps
What you’ll need:
- Safety gloves
- Tape measure
- Pipe cutter or hand saw
- Deburring tool
- PVC primer, PVC cement or ABS cement
- Thread sealant tape
1. Remove any protective plastic film or packaging from the AAV.
2. Ensure AAV will be installed at least four inches above the horizontal branch.
3. Measure and cut pipe accordingly.
4. Chamfer and deburr pipe.
5. Solvent weld pipe to the provided adapter.
6.Wrap thread sealant tape around male threads of the AAV.
7. Insert AAV in adapter and rotate it clockwise until it is tightened securely.