How do I install a Closet Flange Spacer Kit?
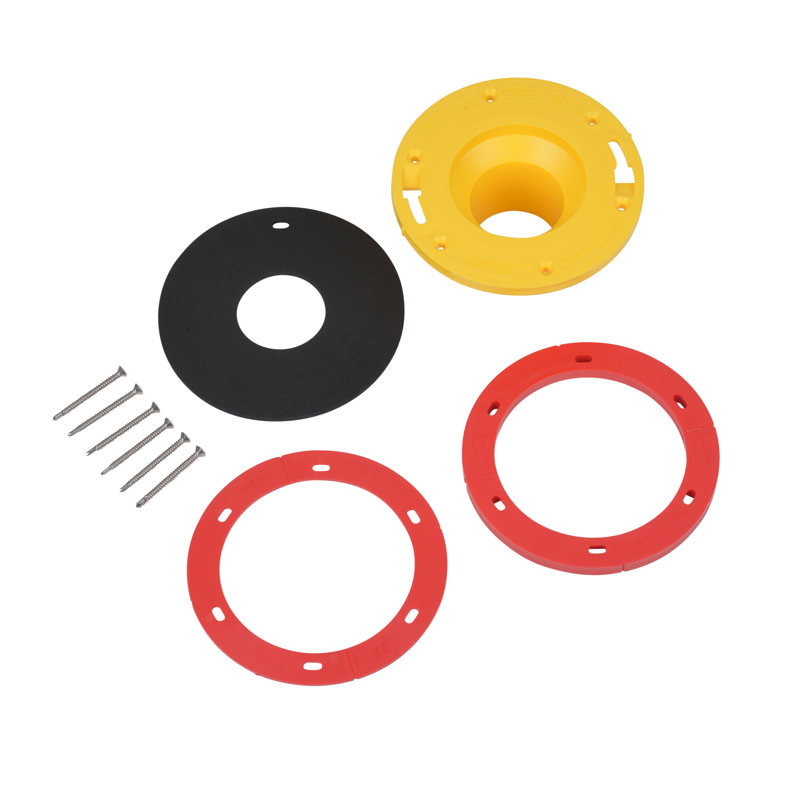
After the toilet has been removed, you must remove the existing toilet bolts and clean all the old wax off the existing toilet flange. Decide how much height is needed in order for the bottom of the top flange to be parallel with the finished floor height. You should replace the existing flange if it is broken or rusted badly; the spacer kit will not work for this application. After confirming the existing flange is in good condition, install the new extra-long toilet bolts into the flange. You can use the gaskets that come with the kit to seal between multiple PVC spacers, but 100% silicone is recommended between the top of the existing flange and the bottom of the first spacer. This will ensure that all voided areas are water tight between the transition points. After the desired height is reached, the flat washers and 1/4" nuts are threaded onto the extra-long bolts. This will compress and hold the spacers in place. It is recommended that you try and secure the new spacer or spacers to the subfloor through the four holes molded into the spacers. You can now install a wax seal and finish the toilet installation. Never use one of the seals in place of the wax seal. THE TOILET WILL LEAK WHEN FLUSHED!
